Your First Campaign
This tutorial walks you through creating your first campaign in Mimir. By the end, you’ll have a fully configured campaign ready for adventure modules and session play.
Time to complete: 5-10 minutes
What you’ll learn:
- Navigate the Mimir interface
- Create a new campaign
- Explore the Campaign Dashboard
- Import catalog data for the next tutorials
Prerequisites
- Mimir installed and running
- No additional setup required
Step 1: Launch Mimir
When you launch Mimir, you’ll see the home screen with the floating Mimir skull and the tagline “Your arcane companion for D&D 5e campaign management.”
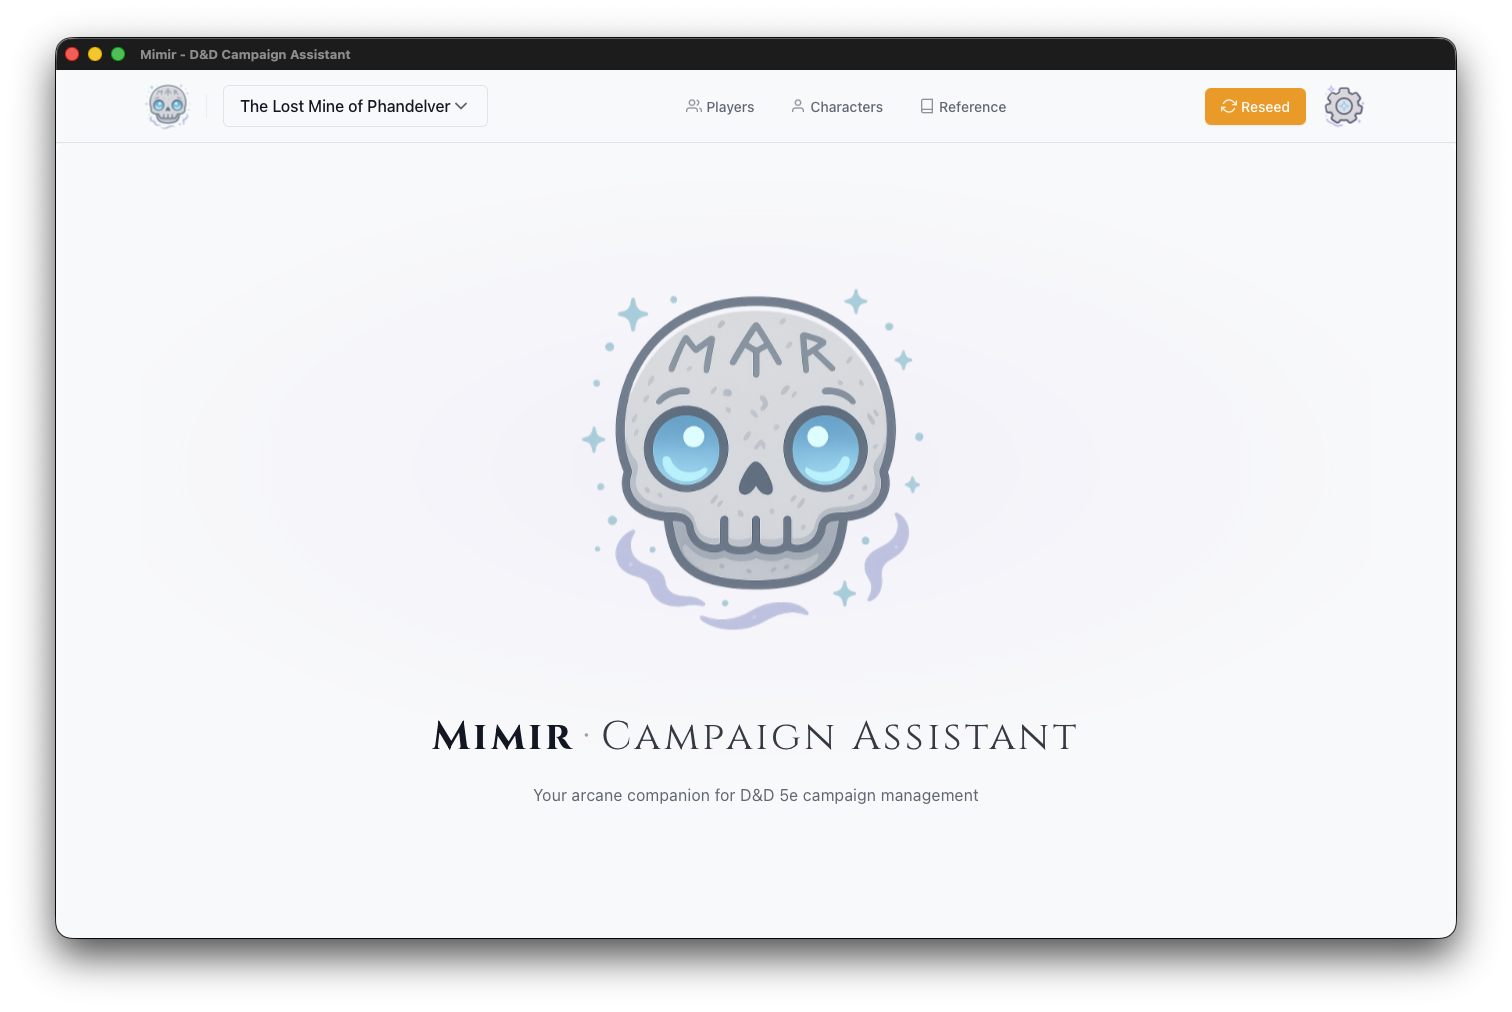
The header bar contains:
- Mimir logo (skull icon) - Click to return home
- Campaign selector - Switch between campaigns
- Characters - Create and manage PCs and NPCs
- Reference - Open the D&D 5e reference library
- Settings (gear icon) - Configure application preferences
Step 2: Create a New Campaign
- Click the Campaign Selector dropdown in the header
- Click Create New Campaign
The Create New Campaign form opens.
Step 3: Fill in Campaign Details
The campaign creation form has two fields:
Campaign Name (Required)
Enter a descriptive name for your campaign. This appears throughout Mimir and in exported materials.
Example: “Curse of Strahd”, “Homebrew - The Shattered Realms”, “One-Shot: Goblin Heist”
Description (Optional)
Add notes about your campaign concept, themes, or setting. This is for your reference only.
Example: “Gothic horror campaign set in the domain of Barovia. Players are trapped and must defeat the vampire Strahd von Zarovich.”
Step 4: Create the Campaign
Click Create Campaign. Mimir will:
- Create the campaign in the database
- Redirect you to the Campaign Dashboard
Step 5: Explore the Campaign Dashboard
The Campaign Dashboard is your command center for the entire campaign. It has a header showing your campaign name and tabs for the different aspects of your game — Campaign, Modules, NPCs, PCs, and Homebrew. See the Campaign Dashboard reference for what each tab contains; you’ll work in the Modules tab in the next tutorial.
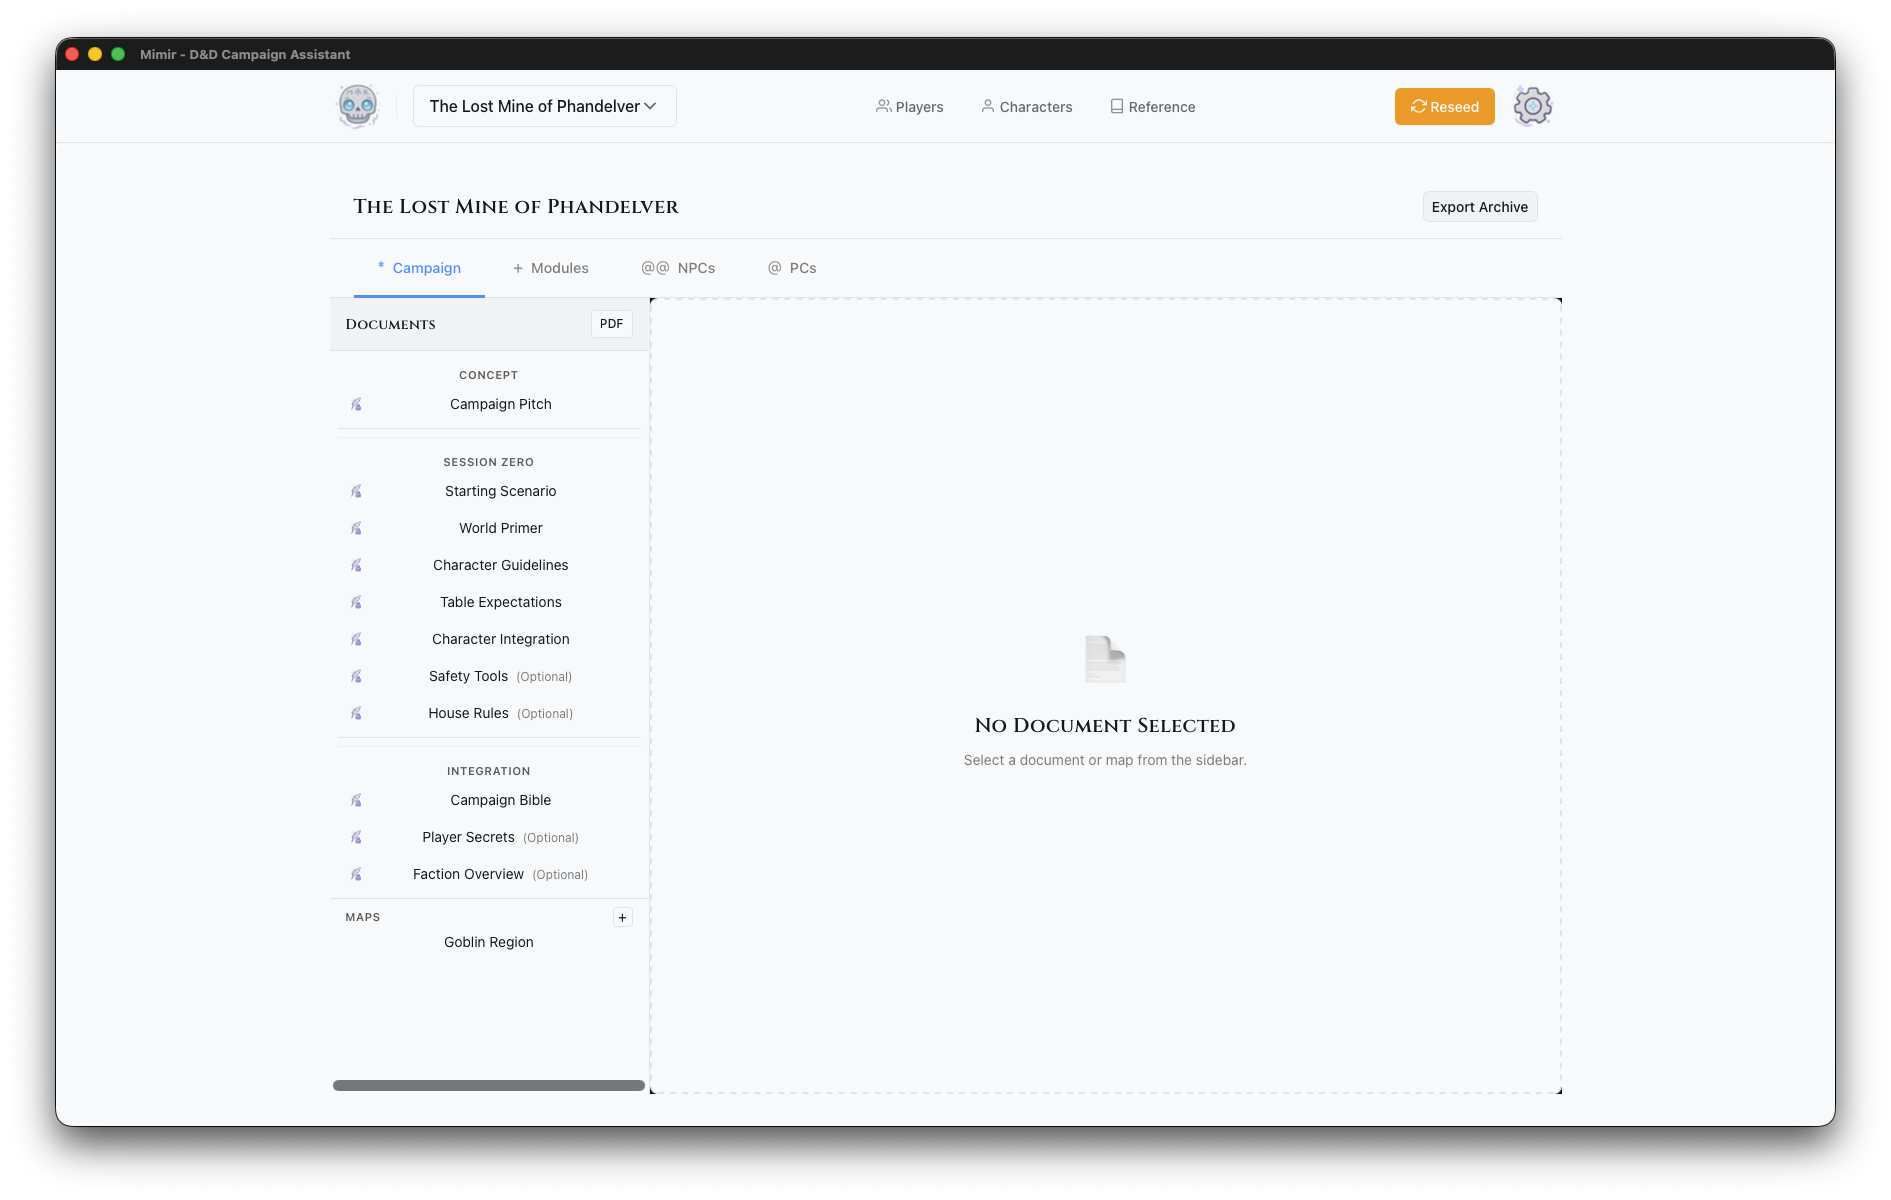
Step 6: Campaign Actions
The dashboard header includes three buttons: Sources, PDF, and Export Archive.
Sources opens the Campaign Sources modal where you select which D&D source books are available for this campaign. This controls which monsters, items, and spells appear in catalog searches.
PDF exports campaign documents as a PDF file.
Export Archive creates a backup of your entire campaign including:
- All documents and notes
- Module data
- Maps and tokens
- Character assignments
Use this regularly for backups or when moving campaigns between computers.
Step 7: Import Catalog Data
Before the next tutorial you’ll need catalog data imported — Tutorial 2 searches the catalog for monsters, and Mimir ships with none. Follow Manage Campaign Sources to download a source archive and import it, then come back here.
What’s Next?
Your campaign is ready! Here are your next steps:
- Create your first module - Build an adventure with maps and encounters
- Add characters - Create PCs for your players
- Explore the Reference - Browse monsters, spells, and items for inspiration
For details on anything you saw in this tutorial, see the Campaign Dashboard reference and Create a Campaign.
Next tutorial: Your First Module