Create a Campaign
This guide shows you how to create a new campaign in Mimir and configure it for your game.
Steps
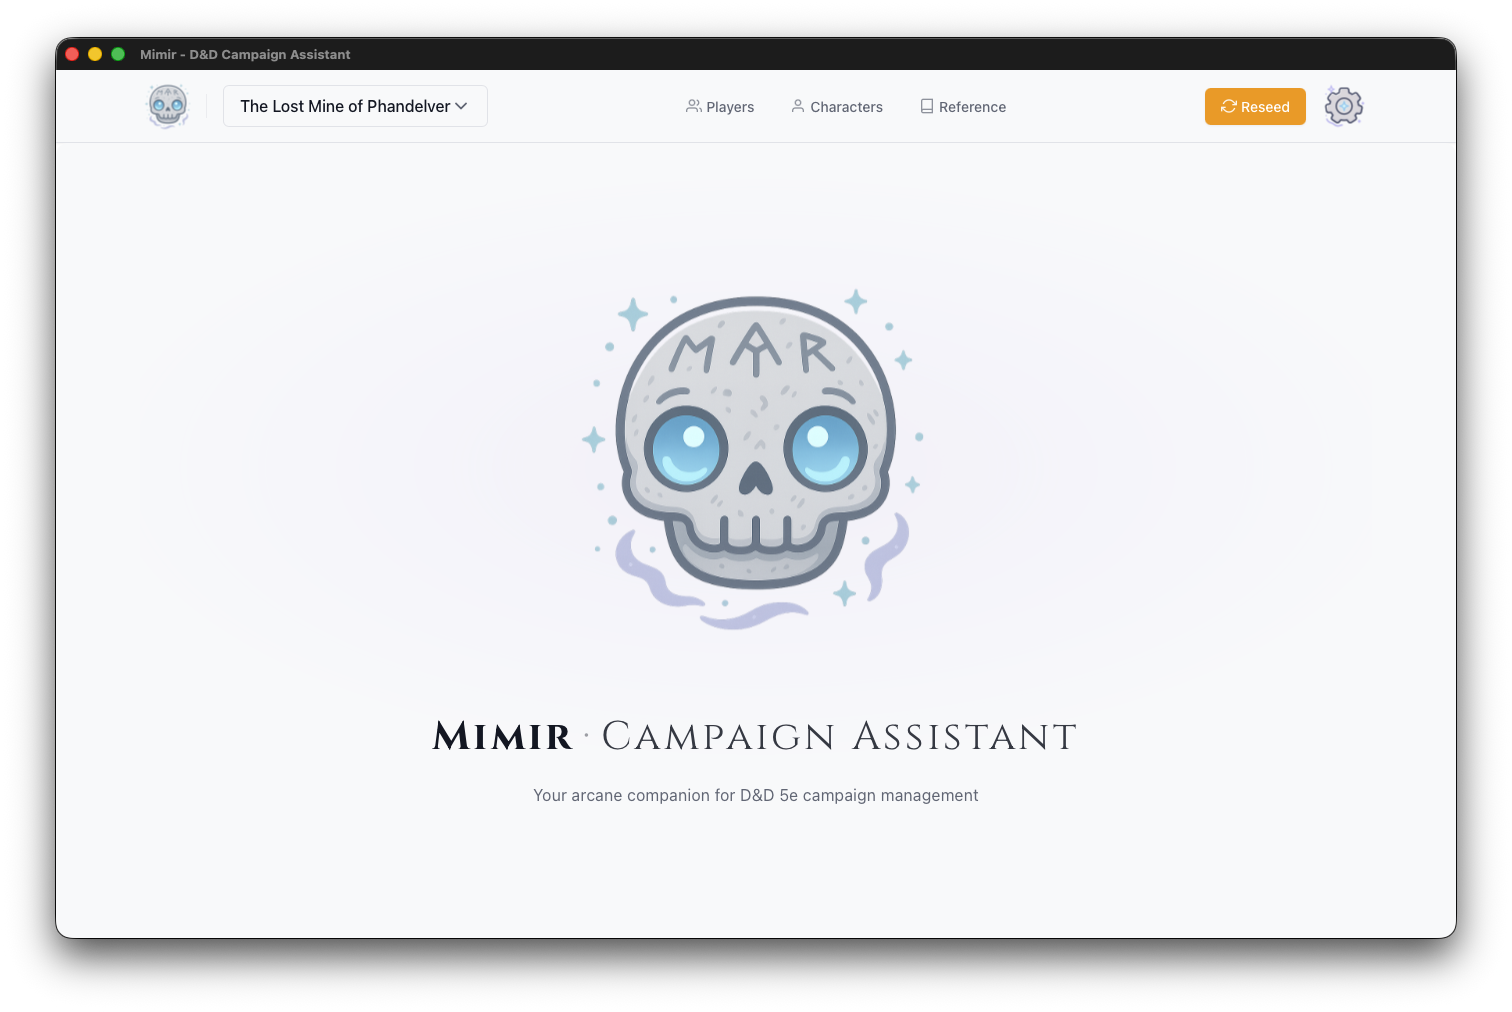
- Open the Campaign Selector in the header bar
- Click + New Campaign
- Fill in the campaign details:
- Campaign Name (required) — A descriptive name for your campaign
- Description (optional) — Notes about your campaign concept, themes, or setting
- Click Create Campaign
You’ll be redirected to your new campaign’s dashboard.
What Gets Created
When you create a campaign, Mimir automatically generates 11 template documents to give you a starting structure: Campaign Pitch, Starting Scenario, World Primer, Character Guidelines, Table Expectations, Character Integration, Campaign Bible, Safety Tools, House Rules, Player Secrets, and Faction Overview. These appear in the Campaign tab of your dashboard. Edit or delete them as needed — they’re a starting point, not a requirement.
Configure Campaign Sources
After creating your campaign, you’ll likely want to configure which D&D source books are available:
- Click the Sources button in the dashboard header
- Enable the books your group owns or you want to use
- Close the modal
Source filtering affects all catalog searches within this campaign — monster searches, spell lists in character creation, item lookups, and more. A “PHB only” campaign won’t show Xanathar’s Guide content.
Tips
- Use descriptive names that help you identify campaigns later (e.g., “Curse of Strahd - Tuesday Group” rather than just “Campaign 1”)
- The description is only visible to you — use it for notes about themes, players, or campaign status
- Configure sources early — it controls what content appears throughout the campaign
- You can archive campaigns you’re no longer running to keep your list clean
See Also
- Tutorial: Your First Campaign
- Manage Documents
- Export Campaign
- Campaigns vs Modules — Understanding the hierarchy